LESSON FOUR: Image Transfer
Image transfer is to transfer images from printer papers onto other materials like wood, fabrics and books. It is like Photoshop in the older days. People uses it to create artwork with collage like results. In this lesson, we were taught 3 methods to image transfer. The 3 methods are ironing, solvent and adhesive.
Reflection
I feel that Image Transfer is such a wonderful technique to create art. Some methods allow fast transfer which is amazing to create instant artwork. We can layer the different images in layers and composition to make the final output an unique and original one. Furthermore, the final outcome is also dependent on the artist. At certain part it depends on our strength and pressure applied to the transferring. And at certain times, it is dependent on the way we apply our pressure onto the transfer that differs the result. Moreover, all 3 methods are also simple and straight forward. Everyone can do it as the equipments needed are found in our daily lives.
Experimental Process in Class
Method 1 - Solvent (Thinner and Chartpak AD marker blender pen)

Gathering the materials, thanks lecturer - Huei for providing us these ingredients.

Going to try transfer this floral print onto this piece of wood.

Sprayed thinner all over the paper and spread it with the round fabric burnisher. Used the metal spoon to apply pressure all over the wood as well.

The result of my very first image transfer. I actually applied 3 rounds of thinner and rubbing it thoroughly before achieving this result.

This time round, I tried to transfer this blue floral prints with the chartpak AD marker blender pen. Failed although I applied 3 layers of the ink from the blender pen. I guess is the ink from the printed paper that is not suitable for this image transfer.

Using the same wood surface, I tried to transfer a black and white printed flower bulb. The transferred image is faint and uncleared.
Method 2 - Ironing


Only about 5% of the image is transferred sadly. The iron is hot enough so it is probably the printed paper or fabric not suitable in this case.
Method 3 - Adhesive (Packing Tape and Mod Podge)
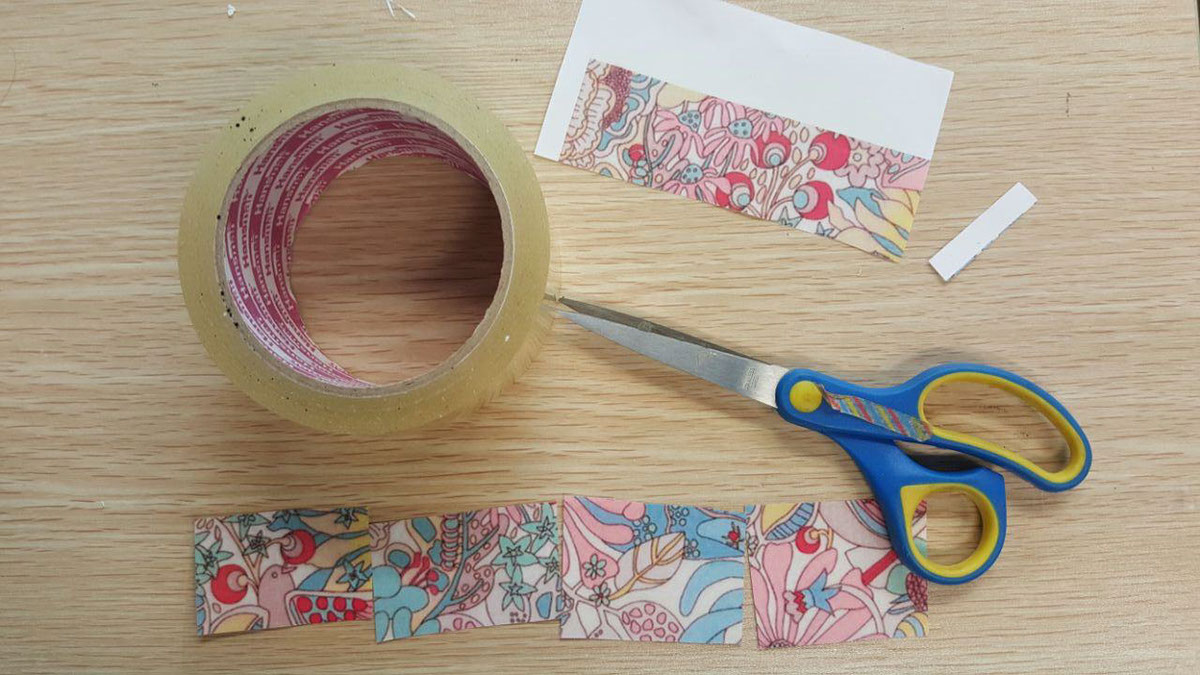
Using packing tape with strips of floral prints cut out.

Sprayed water all over and rubbed the paper off the tape. I tried to leave different parts of the paper on to see the differing results.

This is what I got in the end.

Now, using Mod Podge. I have applied Mod Podge 2 days ago and now it is ready to reveal the result!

Poured water all over.
Waited for 2/3minutes for the paper to be fully absorbed in water.

And the peeling starts~

Here are the final results.


Brief
DESIGN A WOODEN SIGNAGE using image transfer medthod. Select one of the businesses below and do a small scale mockup with wood.
You can either use an existing brand or come up with one yourself. You are free to propose any style or art direction for the design. the client is also open to an illustrative signage.
Choices:
• Florist
• Organic Food Grocer
• Cafe/Pub (including cat cafe/other novelty cafes)
• Restaurant / eatery
Deliverable:
1 small scale mockup (about A4 size)
Research
I went on to find some images as reference for my design of my chosen cafe wooden signage.


Experimental Process
Chosen topic: Cafe

Decided to work on a simple design with floral patterns and a vintage typeface.
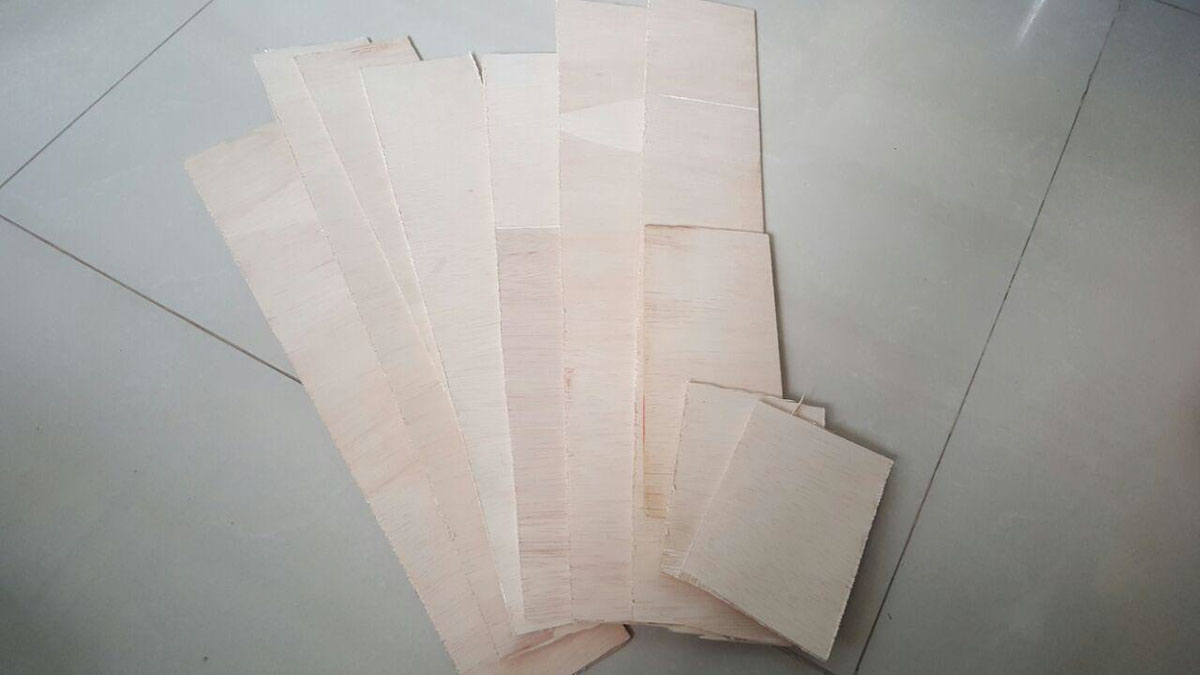
Brought back these flexible ply woods from Design School's workshop. They are literally bendable and thin enough to be cut through by penknife, really great for modelling and prototyping.

I decided to give my wooden signal a more greenish turqoise wash before transfering my design over.

Broke and arrange the wood pieces into the right size that I intended it to be.

After a turqoise wash...
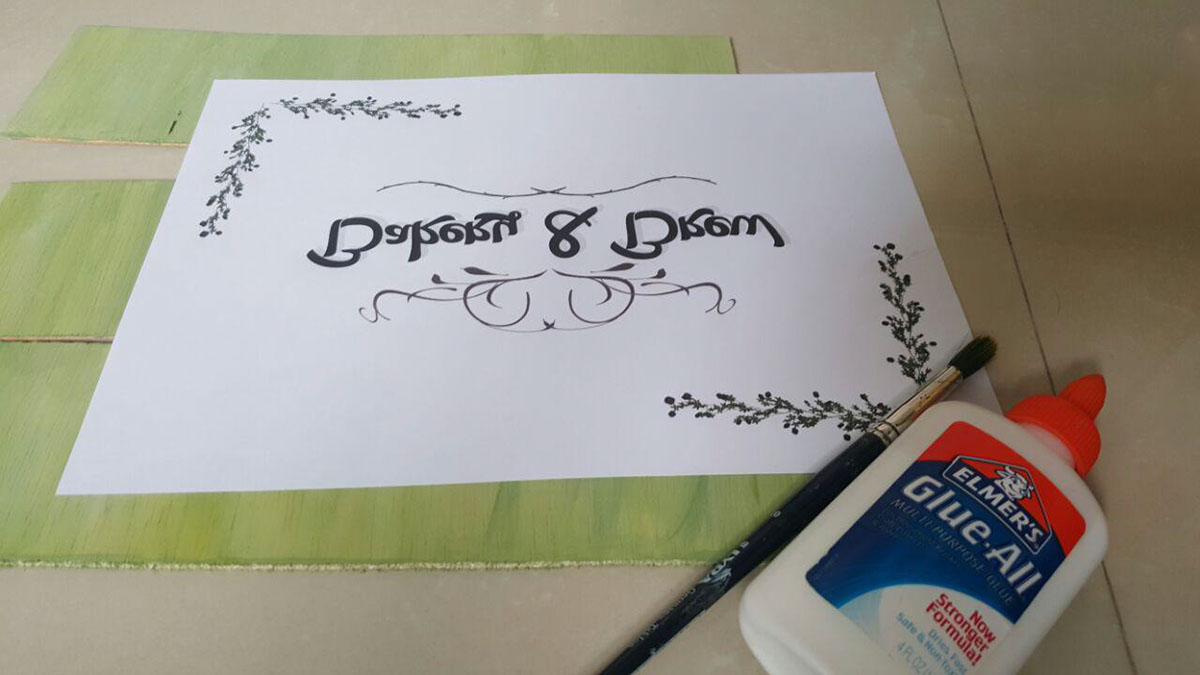
I printed out my design and decided to try out the glue adhesive method.

To not waste much of my glue, I trimmed the paper and applied glue all over and stick the paper for a day before proceeding on to step two.

Here is step two, whereby I damp the paper and rub off the paper.

The result was horrible, the image transferred were very faint and most of it were scraped off together with the paper. I realise that inkjet printed image will not work with the glue adhesive method.

I washed and dried my wooden pieces and proceeded with my second method - solvent.
I cut out the floral border and used the AD Chatpak Blender Marker to transfer it over to the top piece of wood.

Bought this bottle of thinner from Art Friend at the price of $3+.

For the second part of the floral border on the second piece of wood, I attempted the transfer with thinner instead. Using rags, I make my own 'dipper' for the thinner.

This is the result of the transfer floral patterns onto the wood with thinner and AD Chatpak Blender Marker.

For the text, I attempted the tape adhesive method after hand writting the cafe title, "Bakery & Brew".

Unfortunately, the transferred image on the tape is very faint as it is not from the laser print and from the draft piece. In the end, I decided to directly craft my cafe title onto the wood so that it will be prominent enough to see from far.
Final

The slanted placed of the wood are deliberate to bring out the personality of the cafe, homely and cosy. I find the usual proper way of arranging the wood pieces mundane and decided to place them in this manner instead.

Close up to the transfer of the floral pattern and border.

Final look and feel.
